
Week 10 Final Projects Conceptual Art
Frosty shattered portrait in the ice

Shattered ice portrait

Dark Abstract Portrait

Digital Painting

Shattered Reflection

Abstract Projections

Week 9 Photoshop Movie Trailer
Week 8 Animated Movie Posters


Week 7
Photoshop Webpage using Slice Tool

Curves tool


using curves, I was able to fix the white balance, adjust the data in the highlights and shadows. I then used more tools to finally zoom in on the area I wanted to highlight.
Warp Tool

using the transform, warp tool and presets I was able to manipulate the shape of this glass.
Surreal Photo Manipulation


To create this image, I used many tools including Camera RAW. I cut out the subject and replaced the background, rendered clouds, added layers to create lights and shadows, used channels to paint the highlights. Clipped a fire into the sword and used layers panel to blend it.


Week 6
Photo Restoration
Using a mix of Adobe Photoshop AI filters, healing and spot healing brushes, and manual painting with color blend modes, I was able to restore this photograph and replace the background.
Week 5
Smart Objects, Layer Masks, Transformations Poster

Week 4


Branding for Good Design #8 was created through use of Adobe Illustrator and Adobe Photoshop. I was going for an Indiana Jones style to portray my adventurous side. For the text I used bevel and emboss, stroke, inner shadow, inner glow, drop shadow, outer glow, texture, pattern over lay. I duplicated the text and the camera to flip and warp them. my preference to warping objects and text is CTRL and click. I used shadows and light to add depth. I adjusted colors.


To create this puppy on the chalk board with an erasing of part of the image. I first gathered my images using Adobe Photoshop Generate Image. I then used image adjustments invert on the puppy image. I then placed it over the chalkboard and used a blend mode to give it a chalk looking effect.
Week 3


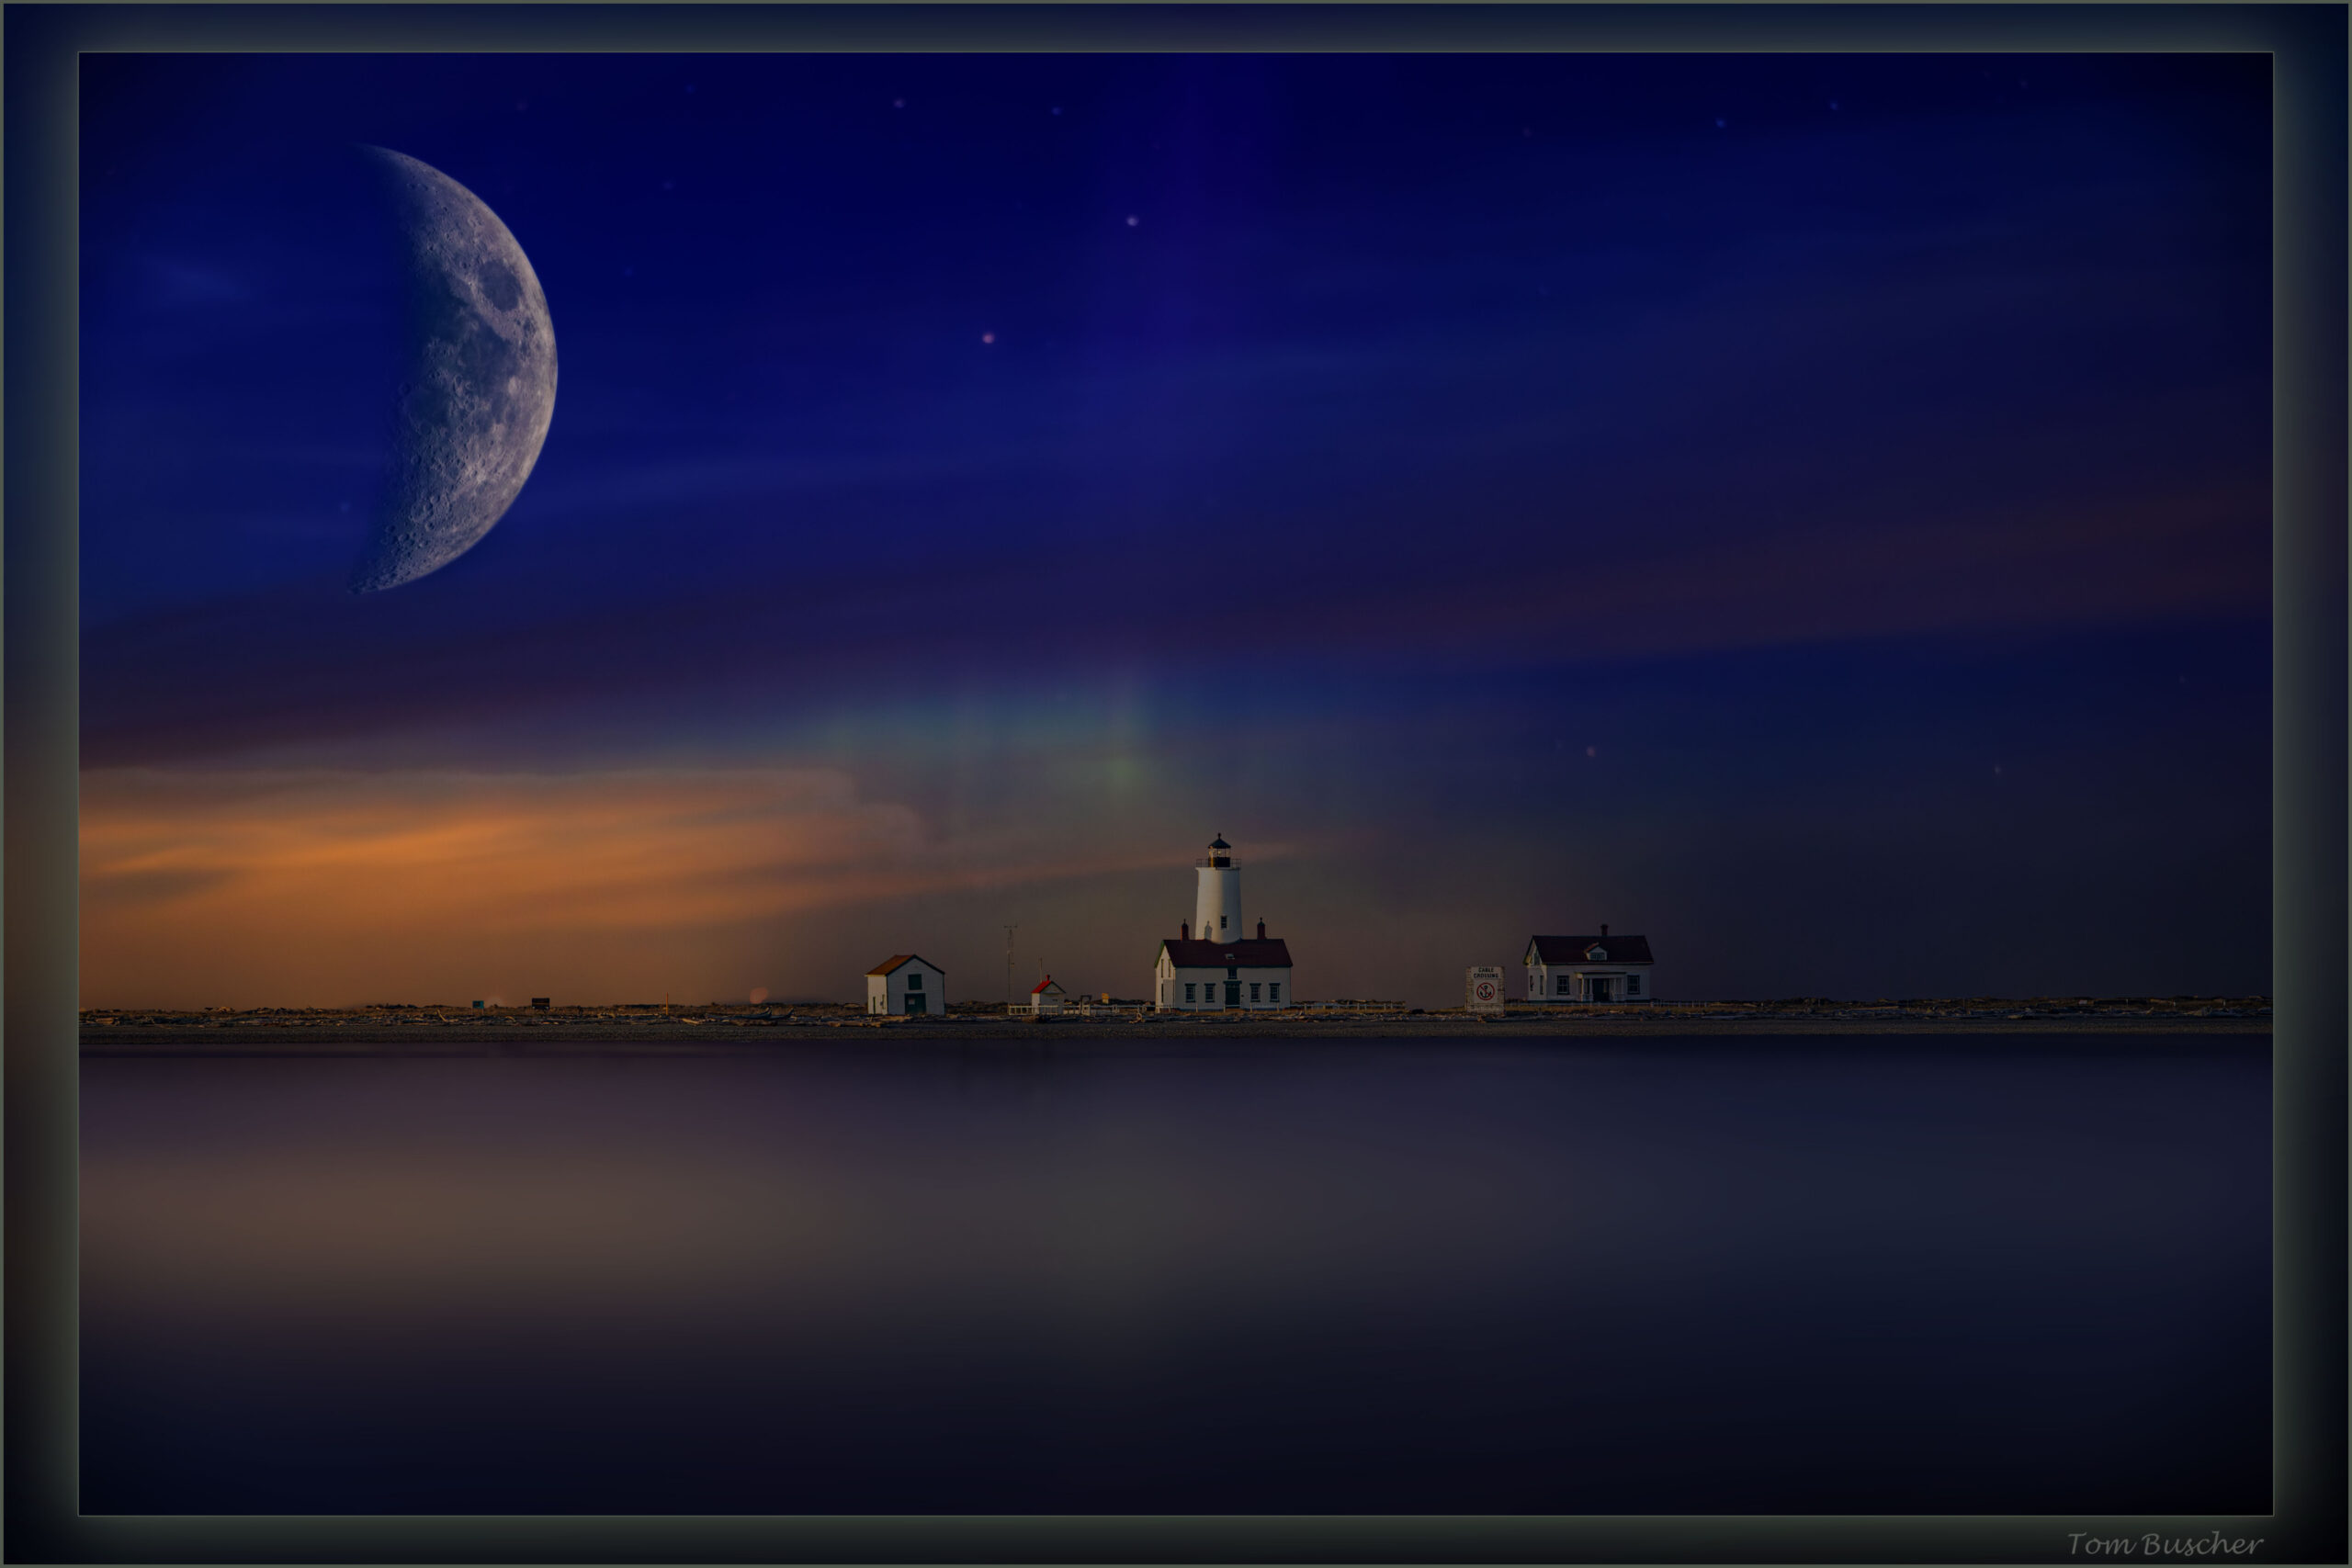
In this project I used Generate image to create the city, the broken building, and the monk. I used my moon photograph cut out and then created light sources, shadows, a Dr. Strange type portal and I pieced it all together.


For this one, I just followed the YouTube Tutorial.
Rectangle Marquee Selection Tool


To achieve this I used the Rectangle Marquee tool the selection modify and ctrl/shift to manipulate the size and shape of the selection. I also used modify feather 2 pixels then adjusted the levels, contrast and curves.
Elliptical Marquee Selection Tool


To achieve this I used the Elliptical Marquee tool the selection modify and ctrl/shift to manipulate the size and shape of the selection. I also used modify feather 2 pixels then adjusted the levels, contrast, hue saturation and curves.
Lasso and Polygonal Lasso Tool Section


I used the Lasso tool and held down ALT to transform it into the Polygonal Lasso tool in order to click the lines into place for the selection. I then used hue saturation to change the color and a mask to bring the original bolts color back.
Color Range Selection


using color range selection and eye dropper then refining the selection with mask I was able to achieve this result.
Luminosity
Working in the Channels panel
water splash as candle flame


using Channels panel, and transforming the splash shape the adjusting hue saturation and adding color shadows.


Ctrl click on one channel at a time inverse the selection and fill with black onto a new white layer then apply masks to 2 of the new layers and play with opacity to create beautiful black and white images.


Week 2
White balance correction


using curves grey dropper tool after finding absolute grey using edit-fill-50% grey-blend difference-threshold filter-color sampler this is the result it gave me. I further worked the image here:


I used the vibrance filter to increase to color without losing data.


using the same grey dropper tool in curves I corrected the white balance. I then further added vibrance here:


using the camera raw filter I corrected the white balance in this photograph.

I changed the Giraffe color with a tint of blue, colored the eyes green and gave it a cool gradient background just for fun.
Week 1
Swapping my face with an AI body builder created in Photoshop.


Giving myself eagle wings from an AI eagle created in Photoshop.


Creating an animal hybrid with photographs that I took with my Canon R6ii and RF100-500mm lens.


Cutting out objects in Photoshop to create scenes with photographs that I took. I used my Canon R6ii, Rf28-70mm and RF100-500mm lenses.


